Showing posts with label DIY. Show all posts

Sunday, September 9, 2012

Mason jar candle decorations

I made candle centerpieces for the birthday party. The items I used were different size mason jars, ribbon, deco beads, tea lights, and tulle.

You have to put the deco beads in water and let them soak for 4 to 6 hours.
Once the beads get to the size you want, drain them in a colander. Add the beads to the bottom on each mason jar, put in the tea light, tie the ribbon around the top and secure with a little touch of hot glue. And that is all it takes to have pretty candles for the party table.
I put the tulle on the table and tied 2 ends with ribbon and then set the candles on the tulle.
It makes a very pretty setting for the birthday cake at the middle of the table.


Friday, September 7, 2012

easy napkin folding tip


My daughter is turning 18 next week. We are having a party this weekend and I wanted to do something a little different with the napkins because I had 2 different size and different print napkins. So I googled how to fold a napkin. I found this wonderful website that has a lot of different ways to fold napkins. http://www.napkinfoldingguide.com/ 

The website has step by step instructions and photos. I picked one that looked easy.These are the 2 napkins that I had.

 First, I unfolded the smallest size napkin and laid it out flat on the table, pattern side down. Then I unfolded the larger napkin half way and laid it in the center of the fold mark in the middle of the small napkin. If you line up the fold marks on the napkins it makes it much easier to get the napkins to lay flat.
Next, I folded both the napkins back up following the original fold lines, so that it looked like this.
Then turn the open side of one corner back and fold it part way down so that you can see a border of the smaller napkin at the bottom. 
Turn the napkins over and fold both sides back about 1/3 of the way.

Turn napkin back over and it should look something like this.
Add the utensils in the pocket and you have a fancy little folded napkin pocket for the party.
This is something easy and fun to do to add a little special touch to the napkins and utensils.


Saturday, August 25, 2012

Homemade Organic Shampoo


I have become deeply interested in becoming less dependent on manufactured chemicals for cleaning my home and washing my clothes. And now I have taken that to a personal level and decided to try making organic shampoo.

First I became interested in using essential oils. And as I researched the many uses for essential oils, I decided I needed to buy some to try. I looked on the internet and found a website that sells pure essential oils at Ananda Apothecary. I ordered Rosemary, Lavender, Sage and Tea Tree essential oils on Friday. They arrived on Monday. That is great service! AND they give free shipping on the first time order. This is the link:  http://www.anandaapothecary.com/. On this website I also found a recipe for a blend of essential oils that would promote healthy and vigorous hair growth.

Then I bought a book at Books A Million entitled "The Complete Book of Essential Oils & Aromatherapy" by Valerie Ann Worwood.

In the book I found a recipe for soap stew, which the author uses as a base for her shampoo. To the base, I added the carrier and essential oils that were listed on the website. The author also has blends of essential oils listed in her book and they are very similar to the blends I found on the internet. Here are the ingredients to the blend that I decided to try:

1 bar Castile soap
1 quart water
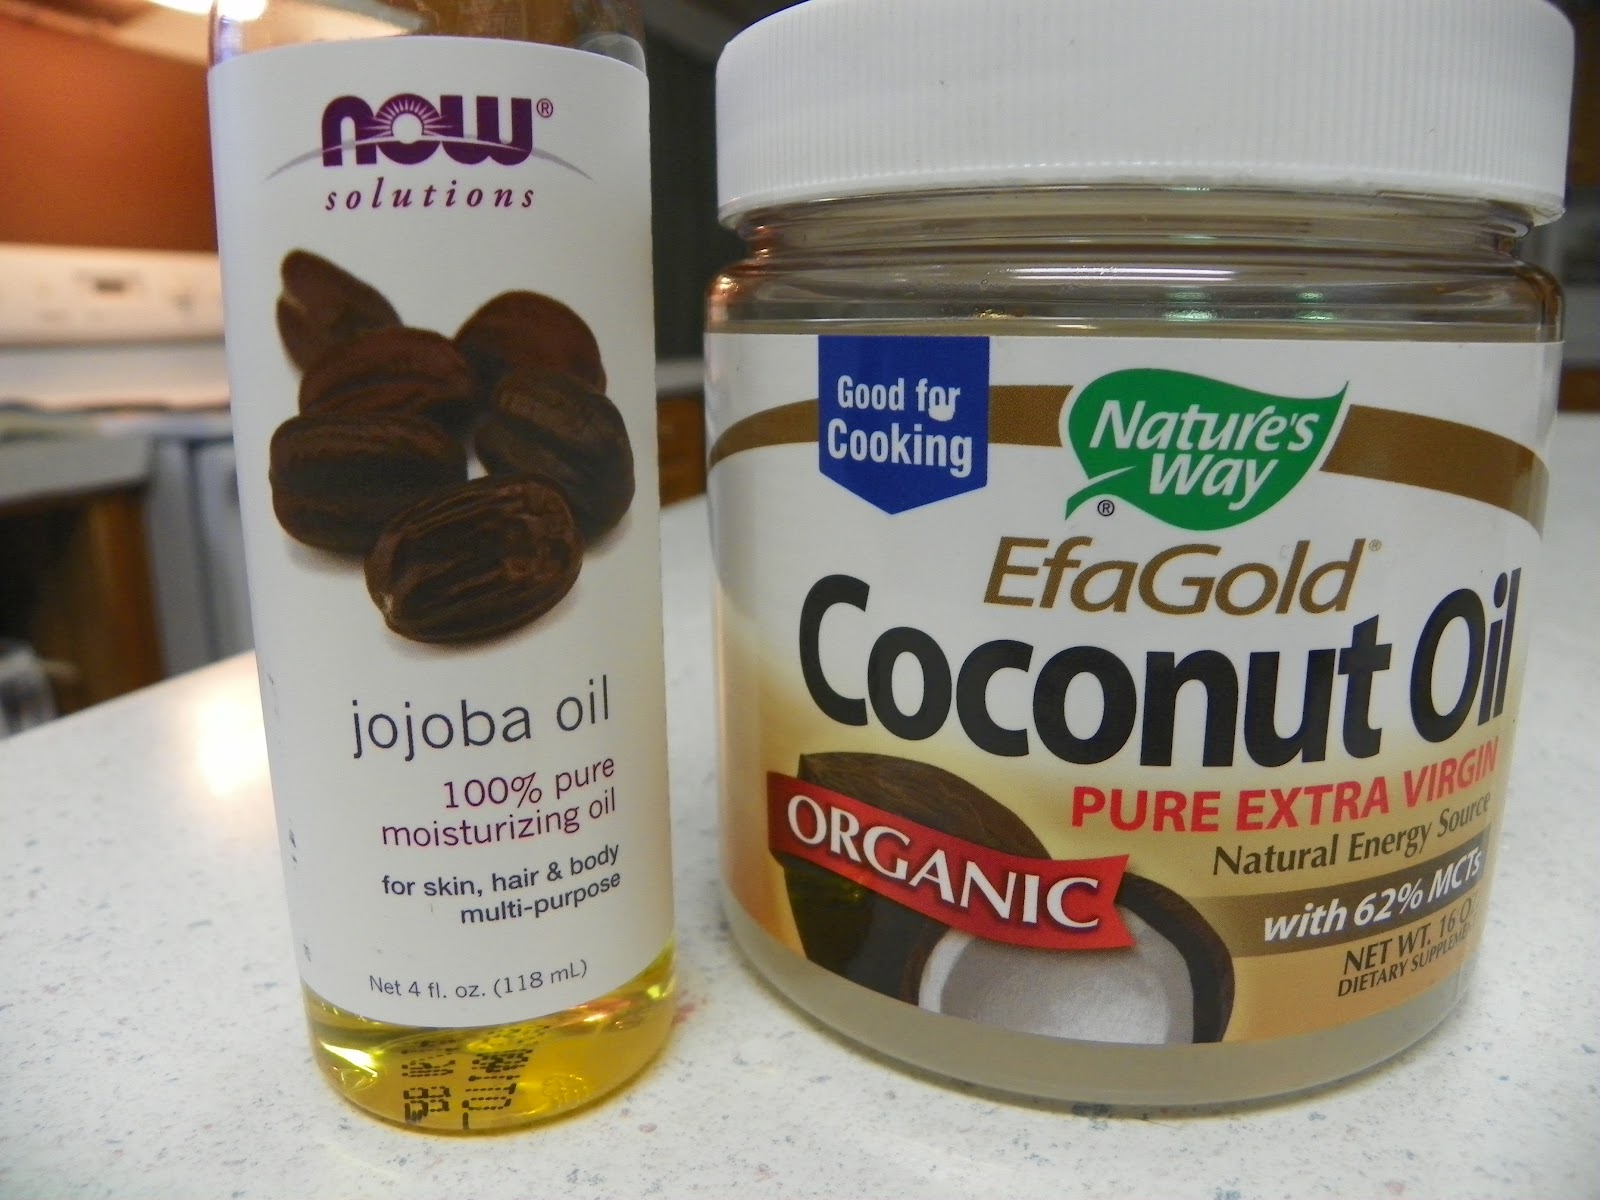
2 ounces Jojoba oil
2 ounces Coconut oil
64 drops Lavender essential oil
64 drops Rosemary Verbenone essential oil
16 drops Sage essential oil

Castile soap is 100% pure.

Jojoba oil is deeply hydrating for dry hair and scalp. Coconut oil is cooling and nutritive to hair and scalp and has a history of being used for hair growth.

The rosemary verbenone essential oil is good for stimulating the scalp and hair. The verbenone chemotype has ketones specific to the regeneration of dermis and follicies. Lavender is good for all types of hair because it has cooling, stress relieving and regenerative properties. Sage can stimulate hair growth and is a highly regarded scalp and hair tonic.


So I grated the Castile soap.

Added the water and let it cook on medium heat until all the soap had melted.

I let the soap stew cool. Then added all of the oils. I placed this in a plastic jar with a lid. And here it is: Homemade Organic Shampoo. The shampoo will turn into a gel overnight. If the oils are on the top, just stir it up before each use.


Saturday, August 18, 2012

Homemade Laundry Stain Remover


Ok. Lately I have been trying all this homemade stuff. I think it's great. This homemade stain remover is one of the easiest things I have found. And it works! That is the best part. It's easy, it's cheap, it works. That's all I need to know. This is the simple way to make homemade laundry stain remover: Mix 1 part Dawn dish washing liquid with 2 parts hydrogen peroxide. That's it. What could be easier? So if you only want to use it as you need it, you can mix 1 tsp Dawn with 2 tsp Peroxide. If you want to have a bottle on hand when you need it, you can mix 1 cup Dawn with 2 cups Peroxide. Put this in a spray bottle and there you go. Handy dandy stain remover.

This is the link for the recipe. There is also a recipe for using peroxide for household stains on this page.
http://www.themakeyourownzone.com/2012/02/homemade-stain-removers-with-hydrogen-peroxide.html


Homemade Jewelry Cleaner


I ran out of jewelry cleaner a while back and I kept forgetting to buy more. So when I saw the recipe for homemade jewelry cleaner, I thought I would try it out. This is the recipe and I found it at: http://www.food.com/recipe/jewelry-cleaner-180133


Ingredients:
1 tablespoon salt 
1 tablespoon baking soda 
1 tablespoon dish detergent 
1 cup water 
1 piece aluminum foil 
Directions:  Heat water in the microwave for 1 or 2 minutes.  Cut a piece of aluminum foil that roughly covers the bottom of a small bowl (like a cereal bowl).  Mix hot water with salt, soda, and dish washing liquid and pour into bowl. 
 Jewelry before:
Place jewelry on top of foil and let it sit for 5 to 10 minutes. Rinse jewelry in cool water and dry jewelry completely with soft cloth. Discard solution after use and make a new batch next time.
Jewelry after:
I don't know if you can tell a difference from the photos before and after I cleaned my jewelry. But there was a definite sparkle and shine after I cleaned them. This was very easy and I had all the ingredients on hand. I will definitely do this again to clean my jewelry.


Wednesday, August 1, 2012

natural hair repair mask

Lately I have become very interested in natural remedies and homemade items. I am currently researching the benefits of organic apple cider vinegar, but that will be in a separate post. In the meantime, I have discovered this natural hair repair mask that I find very interesting because one of the ingredients is apple cider vinegar.

My hair has always been frizzy. And I have always over-processed it by using a blow dryer and curling or flat iron. Then a couple of weeks ago I got a perm. And ever since, I have had a hard time trying to keep it from being a frizzy poof ball. So when I found the hair repair mask recipe, I felt I needed to at least try it one time. I mean, what could it possibly hurt?

I found the recipe at:  http://theberry.com/2012/05/13/sunday-brunch-60-photos-29/sb-random-36-31/

2 tbsp honey
1 tbsp apple cider vinegar
1 tbsp olive oil
Mix the ingredients and apply to dry, unwashed hair starting at the roots and combing all the way to the ends. Leave on for 30 to 60 minutes. Rinse mixture from hair and shampoo well.

Ok. So that's the recipe. I mixed everything up and it was very thick. So I stuck it in the microwave for 10 seconds. That helped thin it out some. But it was still very hard to get it on my hair. I made a huge mess and finally ended up just pouring it in my hands, rubbing my hands together to spread it on both hands and then running my hands through my hair. It was very hard to comb the mixture through my hair, so I just used my hands to get it all the way to the ends. Then I let it sit on my hair for 60 minutes.

It was very hard to rinse out of my hair. I felt that I had to shampoo it twice to get all the honey out. Once my hair was dry, I couldn't tell any difference. I hate to say that I do not think this hair repair mask has helped my hair at all. Maybe it takes more than one application. I don't know. But I don't think I will be willing to try it again.

Sunday, July 29, 2012

Making Homemade Laundry Soap

So while I was at the beauty shop the other day, Brandi, my niece and hairstylist, told me about how she had started making her own laundry soap. She said she got the recipe off Pinterest. She said the soap was easy to make, that she didn't have to use as much of it per load, and that her clothes were clean and smelled fresh. But the hook that got my attention was when she said it was cheap. So I decided I needed to check this out because goodness knows I need to save money any way I can. I began reading various websites and comments about making laundry soap. Every thing I read said that it is easy to make and that it is much cheaper than normal store bought laundry detergent. And that it actually works and gets clothes clean. So I decided this was something I would try for myself.

There are thousands of laundry soap recipes out there on the world wide web, but they all basically have the same ingredients. Many of them make huge amounts of soap at one time. I settled on a recipe that makes 2 gallons per batch. I do not have anywhere to store 5 or 6 gallons of laundry soap at one time, so the scaled-down recipe was exactly what I needed.

I found the ingredients at Wal-Mart in the laundry aisle. They were all right there together on the side of the aisle with the stain removing products. I bought all 3 ingredients for $8.12. This includes 7% sales tax.


I was just a little disappointed when I read that the soap has colorants and perfume listed as ingredients. But I feel that it will be diluted enough that it won't cause irritated skin.


This is the recipe I used.
I found it at:  http://busy-at-home.com/blog/diy-laundry-detergent-save-big-have-fresh-clean-laundry

1/4 bar of Fels Naptha soap
2 Tablespoons Borax powder
1/4 cup Arm and Hammer Washing Soda
water
1 large bucket with lid (or similar container with lid)


Cut  Fels Naptha bar soap into fourths. The other 3 pieces can be saved for later batches.


Grate the 1/4th piece of soap into medium shreds.

Put grated soap into a pot. Add 1 cup water. Over medium-low heat, begin melting soap stirring constantly. When all the soap is melted, remove from stove.


Pour 10 cups of water into a large bucket or container with a lid. Add the melted soap. Stir. Next add the Borax powder and the Washing Soda. Stir.

Add 10 more cups of water. Stir. There will be suds on the top but this is ok.

Put the lid on your bucket or container and let it sit overnight.
The next day the soap will be thicker, like a globby gel. Stir and transfer into whatever containers you have. For example, you could use a couple of old laundry detergent bottles or milk jugs. Anything with a lid should be fine. Divide the soap evenly between the 2 bottles. Each bottle should be half full of the soap mixture. Add water to fill to top.

You now have homemade laundry soap ready to use. Remember to shake the bottle before each use to mix the soap back up. This is my finished product. I have a regular washing machine, nothing fancy. I use 5/8 cup per load. I am pleased with the results. My clothes are clean and smell fresh.